Align the Left Text Left and Right the Text Right in the Same Line in LaTeX
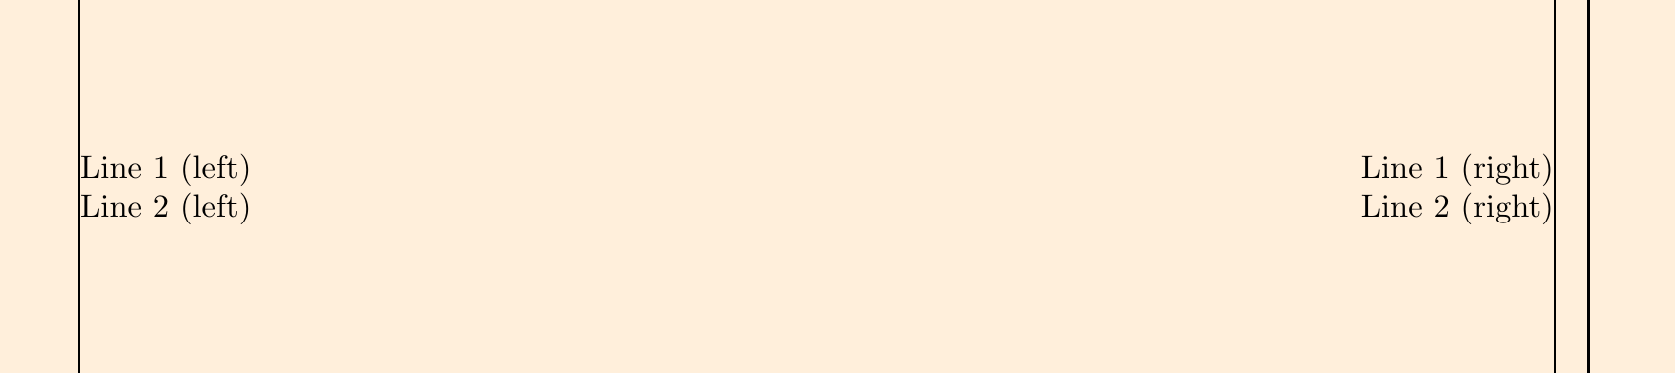
Method 1: \hfill command
(1) \hfill command1
1
2
3
4
5
6
7
8
9
10
11
12
13
14
\documentclass[a4paper]{article}
\usepackage[margin=1in]{geometry}
\usepackage[x11names]{xcolor}
\pagecolor{AntiqueWhite1}
\usepackage{showframe}

\begin{document}
\vspace*{\fill}

\noindent Line 1 (left) \hfill Line 1 (right) \\
Line 2 (left) \hfill Line 2 (right) \\

\vspace*{\fill}
\end{document}
(2) \hfill command + minipage environment1
1
2
3
4
5
6
7
8
9
10
11
12
13
14
15
16
17
18
19
20
21
22
\documentclass[a4paper]{article}
\usepackage[margin=1in]{geometry}
\usepackage[x11names]{xcolor}
\pagecolor{AntiqueWhite1}
\usepackage{showframe}

\begin{document}
\vspace*{\fill}

\noindent
\begin{minipage}{2in}
\textbf{Student:} \\
Mr. xxx
\end{minipage}
\hfill
\begin{minipage}{1.3in}
\textbf{Supervisor:} \\
Prof. Dr. xxx
\end{minipage}

\vspace*{\fill}
\end{document}

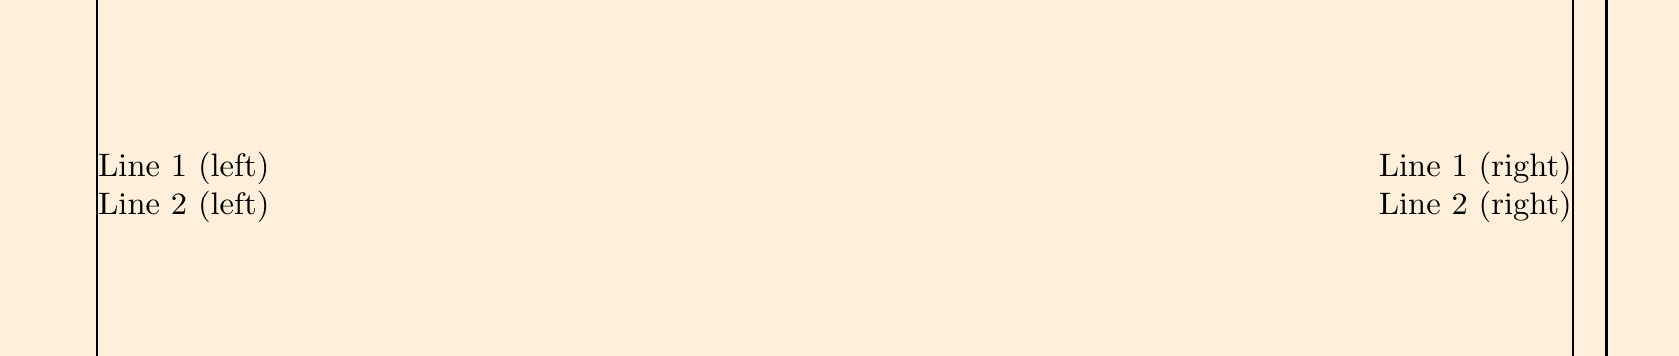
Method 2: tabular* environment
1
2
3
4
5
6
7
8
9
10
11
12
13
14
15
16
17
18
\documentclass[a4paper]{article}
\usepackage[margin=1in]{geometry}
\usepackage[x11names]{xcolor}
\pagecolor{AntiqueWhite1}
\usepackage{showframe}


\begin{document}
\vspace*{\fill}

\noindent
\begin{tabular*}{\textwidth}[t]{l@{\extracolsep{\fill}}r}
Line 1 (left) & Line 1 (right) \\
Line 2 (left) & Line 2 (right) \\
\end{tabular*}

\vspace*{\fill}
\end{document}

where the \extracolsep command is to add elastic width to the table column2.
Besides, we can use @{} to suppress the small space before the first column and that after the last column3:
1
2
3
4
5
6
7
8
9
10
11
12
13
14
15
16
17
18
\documentclass[a4paper]{article}
\usepackage[margin=1in]{geometry}
\usepackage[x11names]{xcolor}
\pagecolor{AntiqueWhite1}
\usepackage{showframe}


\begin{document}
\vspace*{\fill}

\noindent
\begin{tabular*}{\textwidth}[t]{@{}l@{\extracolsep{\fill}}r@{}}
Line 1 (left) & Line 1 (right) \\
Line 2 (left) & Line 2 (right) \\
\end{tabular*}

\vspace*{\fill}
\end{document}
Method 3: tabularx environment
\begin{tabularx}{⟨width⟩}[⟨pos⟩]{⟨preamble⟩}
The arguments of tabularx are essentially the same as those of the standard tabular* environment. However rather than adding space between the columns to achieve the desired width, it adjusts the widths of some of the columns. The columns which are affected by the tabularx environment should be denoted with the letter X in the preamble argument. The X column specification will be converted to p{⟨some value⟩} once the correct column width has been calculated.4
1
2
3
4
5
6
7
8
9
10
11
12
13
14
15
16
17
18
19
20
\documentclass[a4paper]{article}
\usepackage[margin=1in]{geometry}
\usepackage[x11names]{xcolor}
\pagecolor{AntiqueWhite1}
\usepackage{showframe}


\usepackage{tabularx}

\begin{document}
\vspace*{\fill}

\noindent
\begin{tabularx}{\textwidth}{@{}lXr@{}}
Line 1 (left) & & Line 1 (right) \\
Line 2 (left) & & Line 2 (right) \\
\end{tabularx}

\vspace*{\fill}
\end{document}

We can use \tabularnewline to specify the line spacing:
1
2
3
4
5
6
7
8
9
10
11
12
13
14
15
16
17
18
19
20
\documentclass[a4paper]{article}
\usepackage[margin=1in]{geometry}
\usepackage[x11names]{xcolor}
\pagecolor{AntiqueWhite1}
\usepackage{showframe}


\usepackage{tabularx}

\begin{document}
\vspace*{\fill}

\noindent
\begin{tabularx}{\textwidth}{@{}lXr@{}}
Line 1 (left) & & Line 1 (right) \tabularnewline[5ex]
Line 2 (left) & & Line 2 (right) \tabularnewline
\end{tabularx}

\vspace*{\fill}
\end{document}

Method 4: user-defined text box
By using user-defined text box5:
1
2
3
4
5
6
7
8
9
10
11
12
13
14
15
16
17
18
19
20
21
22
23
24
25
26
27
28
29
30
31
32
33
34
35
36
\documentclass[a4paper]{article}
\usepackage[margin=1in]{geometry}
\usepackage[x11names]{xcolor}
\pagecolor{AntiqueWhite1}
\usepackage{showframe}

\newcommand\textbox[1]{\parbox{.33\textwidth}{#1}}
\newcommand\textboxt[1]{\parbox{.25\textwidth}{#1}}

\begin{document}
\vspace*{\fill}

\noindent
\textbox{Left\hfill}
\textbox{\hfil Center\hfil}
\textbox{\hfill Right}

\vspace{3em}

\noindent
\textbox{\raggedright Left}
\textbox{\centering Center}
\textbox{\raggedleft Right}

\vspace{3em}

\noindent
\textboxt{\raggedright Left}
\hspace{-9px}
\textboxt{\centering Center 1}
\textboxt{\centering Center 2}
\hspace{-9px}
\textboxt{\raggedleft Right}

\vspace*{\fill}
\end{document}
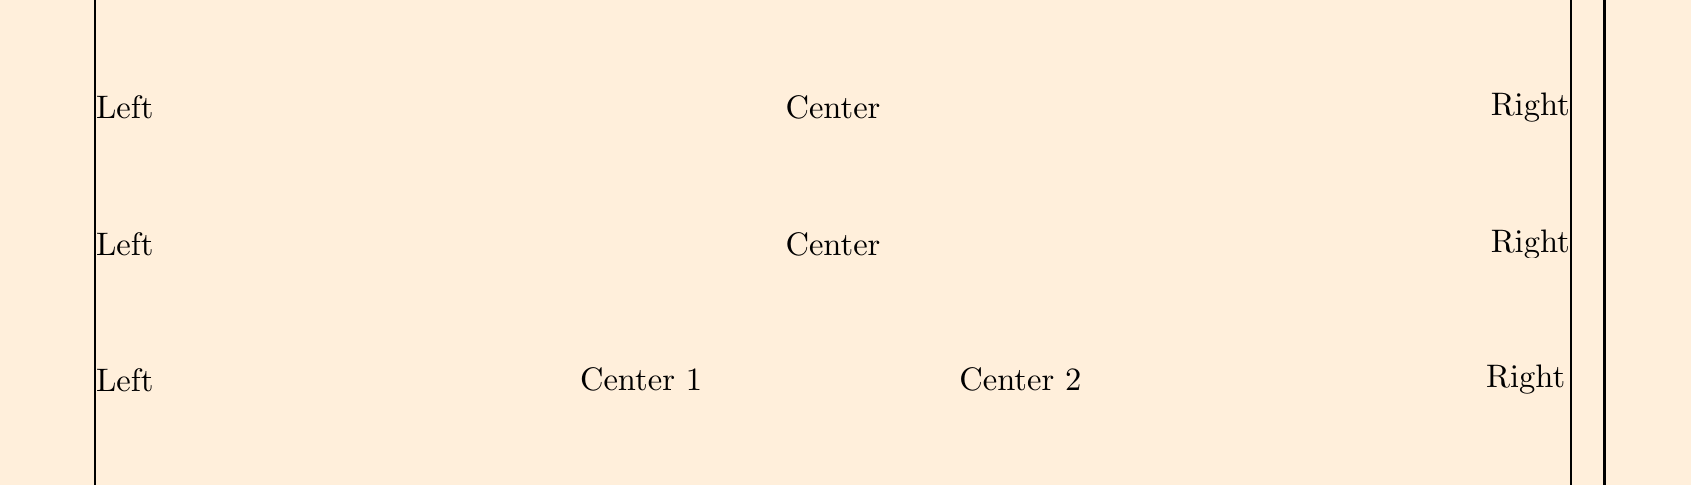
Note that the nuance between \hfil and \hfill command6.
References