Create Python Virtual Environment by Python venv
Introduction
Python venv is a lightweight virtual environment manager1, and it is convenient to use it in some simple scenarios:
The venv module supports creating lightweight “virtual environments”, each with their own independent set of Python packages installed in their site directories. A virtual environment is created on top of an existing Python installation, known as the virtual environment’s “base” Python, and may optionally be isolated from the packages in the base environment, so only those explicitly installed in the virtual environment are available.
I’ll record some basic use of venv module in this post.
Create a virtual environment
Previously I ever installed a Spyder IDE in folder G:\Spyder, and a Python at G:\Spyder\Python311, and in which there is a python.exe. In G:\Spyder\Python311, we can open CMD and create a virtual environment, for example, called my_env, using Python venv:
1
python -m venv my_env
Or instead, we could specify a absolute path, like creating a virtual environment my_env into Test1 folder in desktop for example:
1
python -m venv C:\Users\$USER_NAME\Desktop\Test1\mv_venv
After it, a new folder called my_env is created in G:\Spyder\Python311. And in G:\Spyder\Python311\my_env, there are three sub-folders:
Include: this is a empty folder.Lib: there is only a folder calledsite-packagesin it, and every Python package will be installed insite-packages.Scripts: there are 9 files in this folder, i.e.activate,activate.bat,Activate.ps1,deactivate.bat,pip.exe,pip3.11.exe,pip3.exe,python.exe,pythonw.exe. As will be showed later, operations associated with the virtual environment rely on these files.
and one file:
pyvenv.cfg
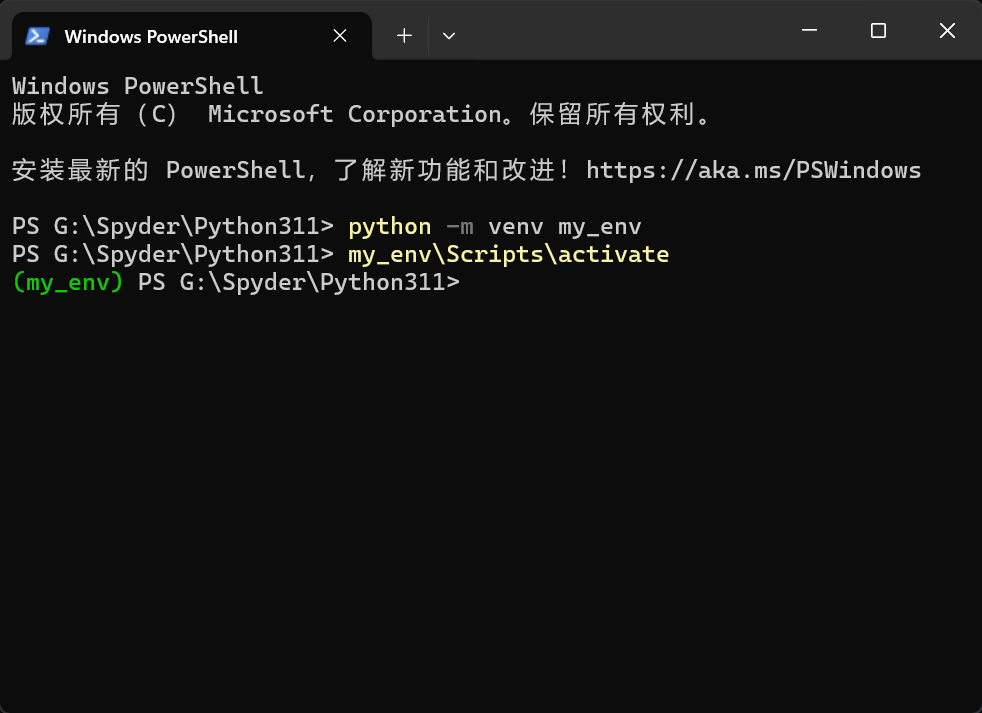
Activate the virtual environment
Then, we can activate above virtual environment my_env by command2:
1
my_env\Scripts\Activate.ps1
and at this time, we have got into the virtual environment:
Some references3 say that to activate the virtual environment, we should use the command:
1
source my_env/Srcipts/activate
however, an error occurred when I use it:
1
2
3
4
5
6
7
8
9
source : 无法将“source”项识别为 cmdlet、函数、脚本文件或可运行程序
的名称。请检查名称的拼写,如果包括路径,请确保路径正确,然后再试一次
。
所在位置 行:1 字符: 1
+ source my_env/Srcipts/activate
+ ~~~~~~
    + CategoryInfo          : ObjectNotFound: (source:String) [], C
   ommandNotFoundException
    + FullyQualifiedErrorId : CommandNotFoundException
This is because command source is only available on Linux or Mac systems. For Windows systems, the above command functions2.
By the way, if I just delete the source of command source my_env/Srcipts/activate, there is also a similar error:
1
my_env/Srcipts/activate
1
2
3
4
5
6
7
8
9
my_env/Srcipts/activate : 无法将“my_env/Srcipts/activate”项识别为 cmdl
et、函数、脚本文件或可运行程序的名称。请检查名称的拼写,如果包括路径,请
确保路径正确,然后再试一次。
所在位置 行:1 字符: 1
+ my_env/Srcipts/activate
+ ~~~~~~~~~~~~~~~~~~~~~~~
    + CategoryInfo          : ObjectNotFound: (my_env/Srcipts/activate:
   String) [], CommandNotFoundException
    + FullyQualifiedErrorId : CommandNotFoundException
So, note that on Windows systems, delimiters in file path should be \.
After activating the virtual environment, if use pip list to list the installed packages at this moment, we have:
1
pip list
1
2
3
4
Package    Version
---------- -------
pip        24.0
setuptools 65.5.0
The IDE software I use is Spyder; in order to use the Python interpreter of this virtual environment in Spyder, spyder-kernels package should be installed in advance4:
1
pip install spyder-kernels
here we have:
1
pip list
1
2
3
4
5
6
7
8
9
10
11
12
13
14
15
16
17
18
19
20
21
22
23
24
25
26
27
28
29
30
31
32
33
34
35
Package           Version
----------------- -----------
asttokens         2.4.1
cloudpickle       3.0.0
colorama          0.4.6
comm              0.2.2
debugpy           1.8.2
decorator         5.1.1
executing         2.0.1
ipykernel         6.29.5
ipython           8.26.0
jedi              0.19.1
jupyter_client    8.6.2
jupyter_core      5.7.2
matplotlib-inline 0.1.7
nest-asyncio      1.6.0
packaging         24.1
parso             0.8.4
pip               24.0
platformdirs      4.2.2
prompt_toolkit    3.0.47
psutil            6.0.0
pure-eval         0.2.2
Pygments          2.18.0
python-dateutil   2.9.0.post0
pywin32           306
pyzmq             26.0.3
setuptools        65.5.0
six               1.16.0
spyder-kernels    2.5.2
stack-data        0.6.3
tornado           6.4.1
traitlets         5.14.3
typing_extensions 4.12.2
wcwidth           0.2.13
Next, we can follow the steps introduced in blog4 to change the Python interpreter in Spyder.
Deactivate the virtual environment
At last, we can deactivate the virtual environment by:
1
deactivate
References